
Water Damage Emergency Response: 10 Critical Steps to Protect Your Home
📋 Quick Navigation
Jump to Section
Water Damage Emergency Response: 10 Critical Steps
Step 2: Contact a Licensed, Insured Water Remediation Company
Step 3: Understand Your Home's Construction and Moisture Dynamics
Step 5: Require Professional Moisture Readings and Photographic Evidence
Step 8: Remove Materials Until You Reach Consistently Dry Areas
Step 9: Understand Your Insurance Coverage Before You Need It
Step 10: Report Claims Promptly and Document Mitigation Efforts
The Bottom Line: Speed and Knowledge Are Your Best Protection
⚡ TL;DR - The Quick Version
Quick Access: 📥 Need help NOW? Download the free Emergency Response Checklist for immediate action steps
📚 Want the complete system? Get The Homeowner's Water Damage Survival Kit ($67) - Everything you need to handle water damage correctly and avoid costly mistakes
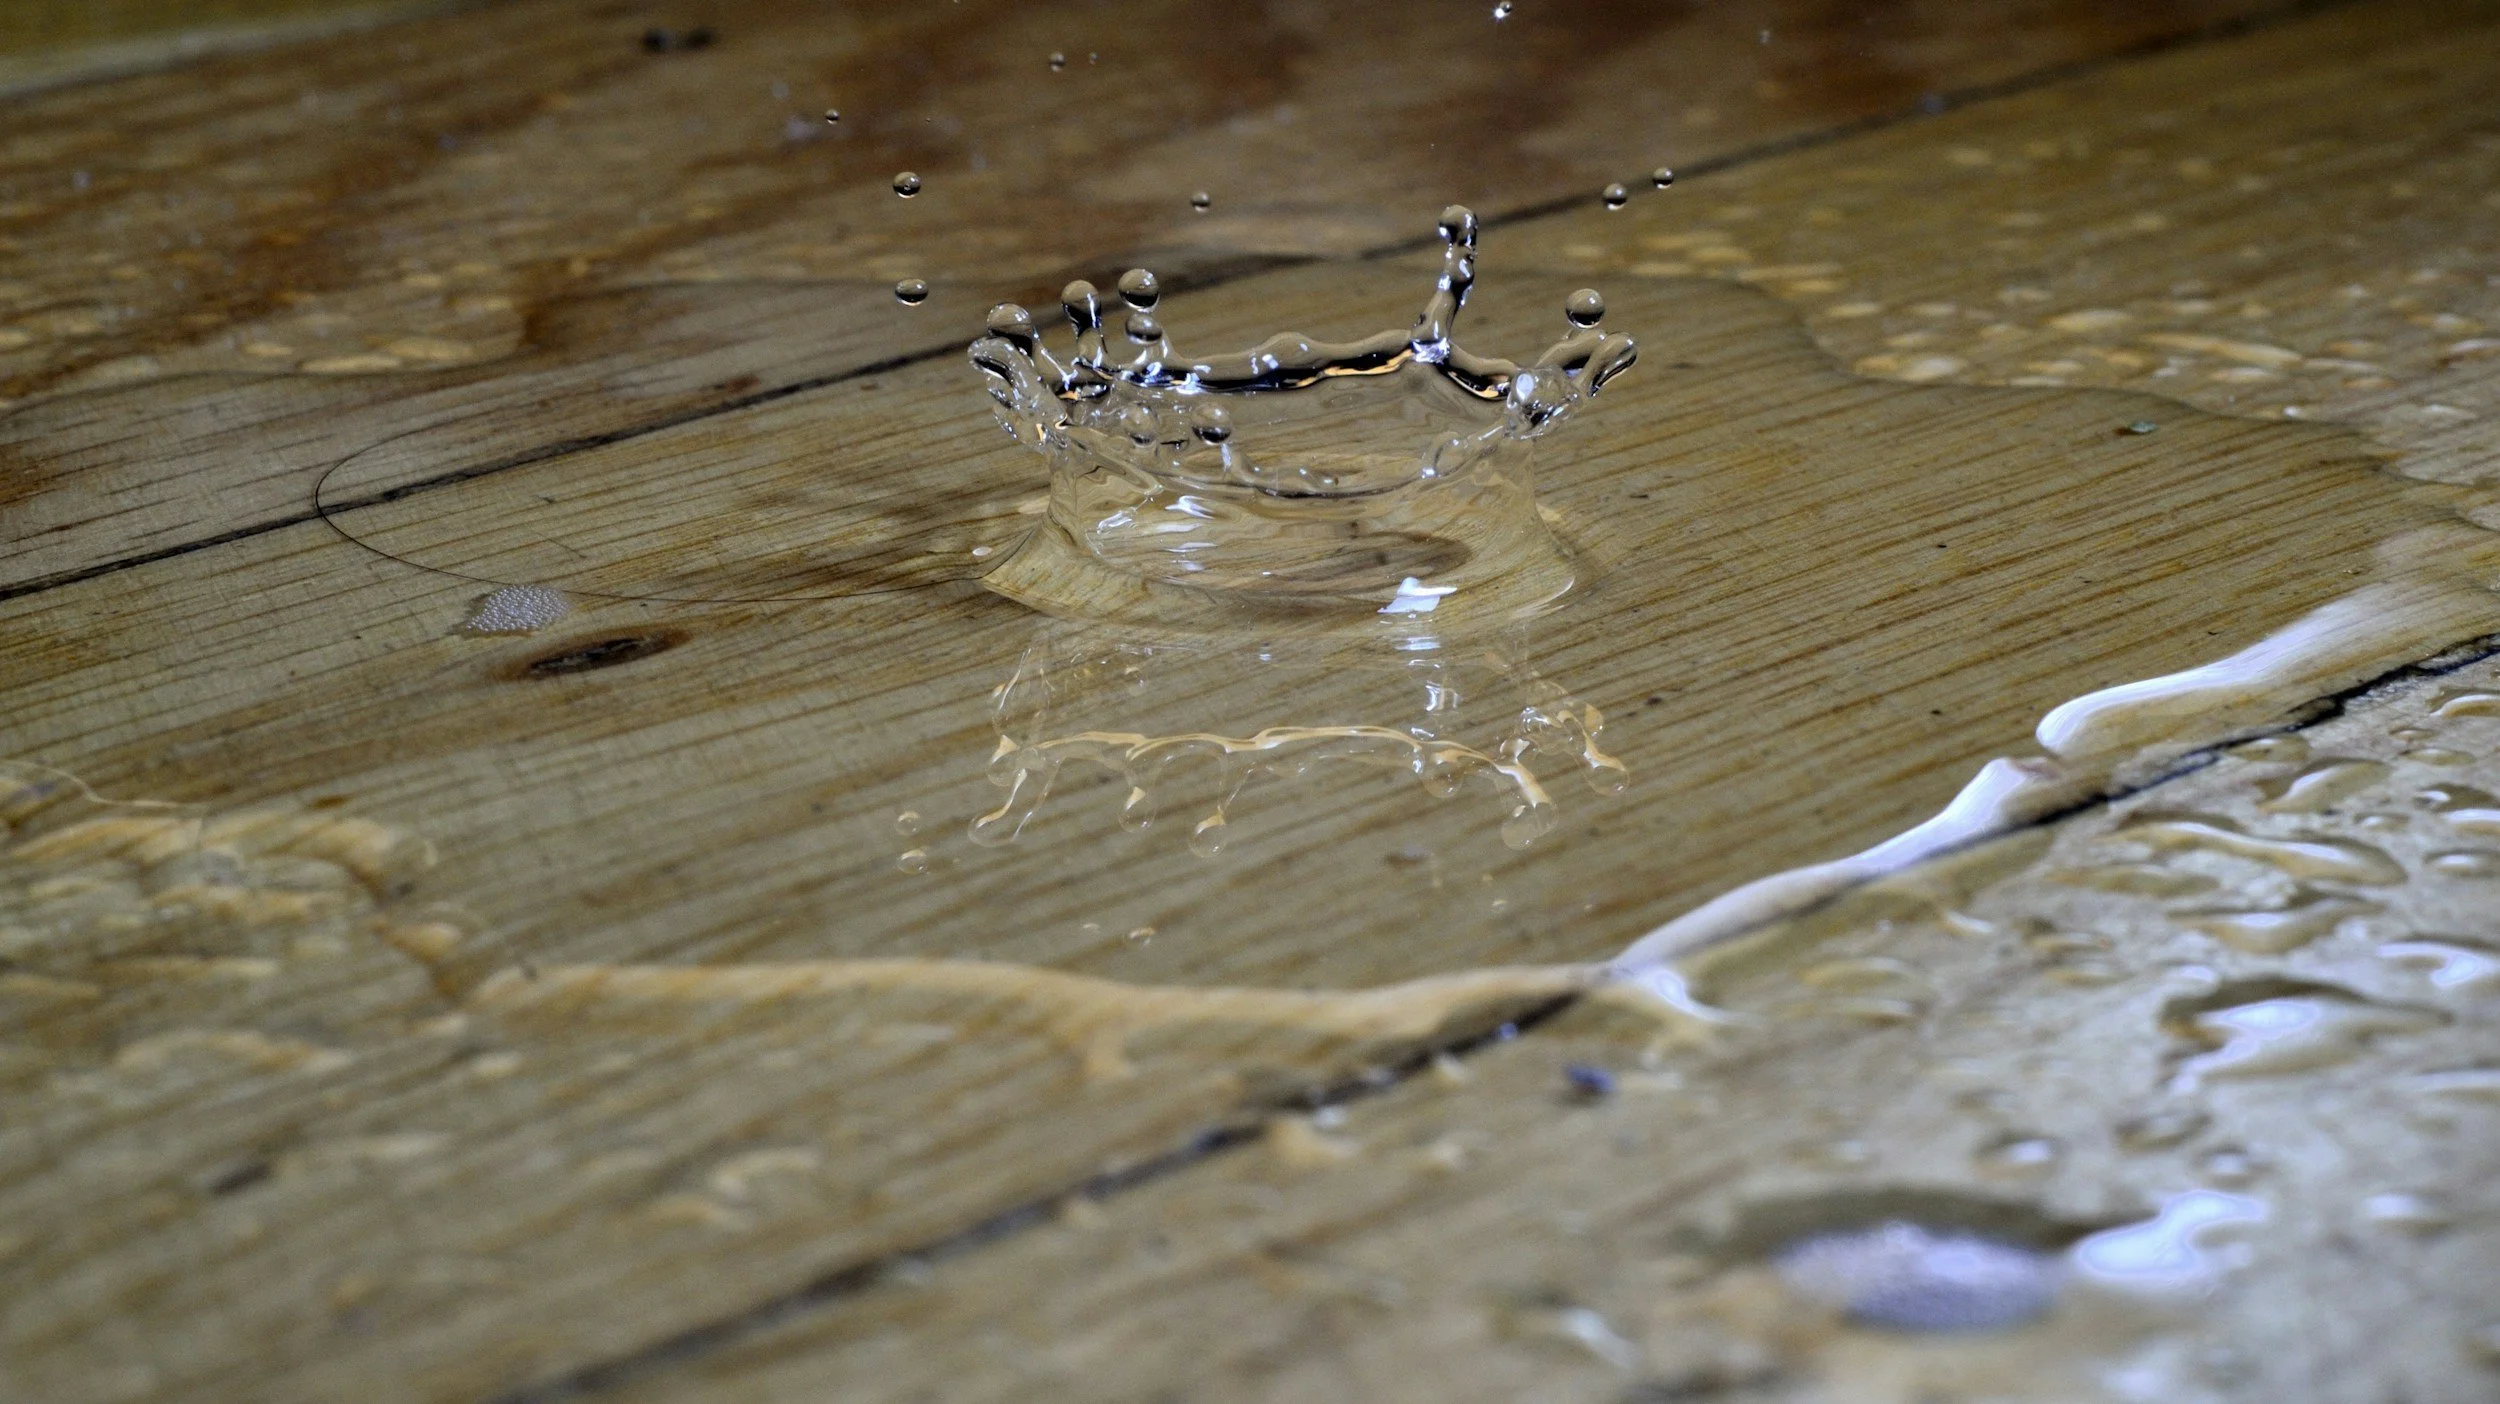
Water Damage Emergency Response: 10 Critical Steps to Protect Your Home
Don't panic. Water emergencies—whether from burst pipes, appliance failures, severe storms, or plumbing leaks—strike when you least expect them. But taking swift, informed action can mean the difference between minor repairs and catastrophic damage with extensive mold growth.
This comprehensive water damage response guide walks you through exactly what to do when water invades your home, from the first moments of discovery through insurance claims and final restoration.
💡 Action Step: Before reading further, download our free Emergency Water Damage Response Checklist so you have it when you need it. This one-page guide covers your first 24 hours and can be printed or saved to your phone for instant access during an emergency.
Step 1: Identify the Water Source Category
The EPA and water restoration industry recognize three categories of water contamination, each requiring different safety protocols and cleanup approaches.
Category 1: Clean Water
Sources: Supply lines, faucets, toilet tanks (not bowls), melted snow or rainwater that hasn't contacted contaminants, or appliance supply lines.
Characteristics: Originates from sanitary sources and doesn't pose immediate health risks from contact. However, clean water can degrade to Category 2 within 48 hours if left standing, as it begins supporting bacterial growth.
Category 2: Grey Water
Sources: Washing machine discharge, dishwasher overflow, toilet overflow containing urine only, aquarium spills, waterbed ruptures, or sump pump failures.
Characteristics: Contains chemical, physical, or biological contamination. May cause discomfort or illness if contacted or consumed. Requires appropriate PPE during cleanup.
Category 3: Black Water
Sources: Sewage backups, toilet overflows with feces, flooding from rivers or streams, seawater intrusion, or any standing water that has supported microbial growth.
Characteristics: Grossly contaminated and potentially toxic. Contains pathogenic bacteria, fungi, viruses, and other harmful microorganisms. Always requires professional remediation with proper PPE, containment, and regulated disposal procedures.
According to the IICRC S500 Standard for Professional Water Damage Restoration: "Category 3 water is grossly contaminated and can contain pathogenic, toxigenic or other harmful agents. Such water may carry silt, organic matter, pesticides, heavy metals, regulated materials or toxic organic substances."
Source: Institute of Inspection, Cleaning and Restoration Certification (IICRC)
Learn more here.
Step 2: Contact a Licensed, Insured Water Remediation Company
Time is your enemy in water damage situations. The CDC states that mold can begin growing within 24-48 hours of water exposure, making rapid response essential.
What to Look For:
IICRC Certification: The gold standard in water restoration. Look for certified firms and specifically IICRC Water Damage Restoration Technician (WRT) certification.
Proper Licensing: State contractor licenses and business liability insurance
24/7 Emergency Response: Water damage doesn't wait for business hours
Equipment: Industrial dehumidifiers, air movers, moisture meters, thermal imaging cameras
Verifiable References: Check Google reviews, Better Business Bureau ratings, and ask for recent customer references
Red Flags:
Pressure to sign contracts before assessment
Lack of proper insurance documentation
No moisture testing equipment
Unusually low estimates (quality remediation costs money)
Claims they can work directly with your insurance without your involvement
Source: Centers for Disease Control and Prevention (CDC) - Mold Information
Learn more here
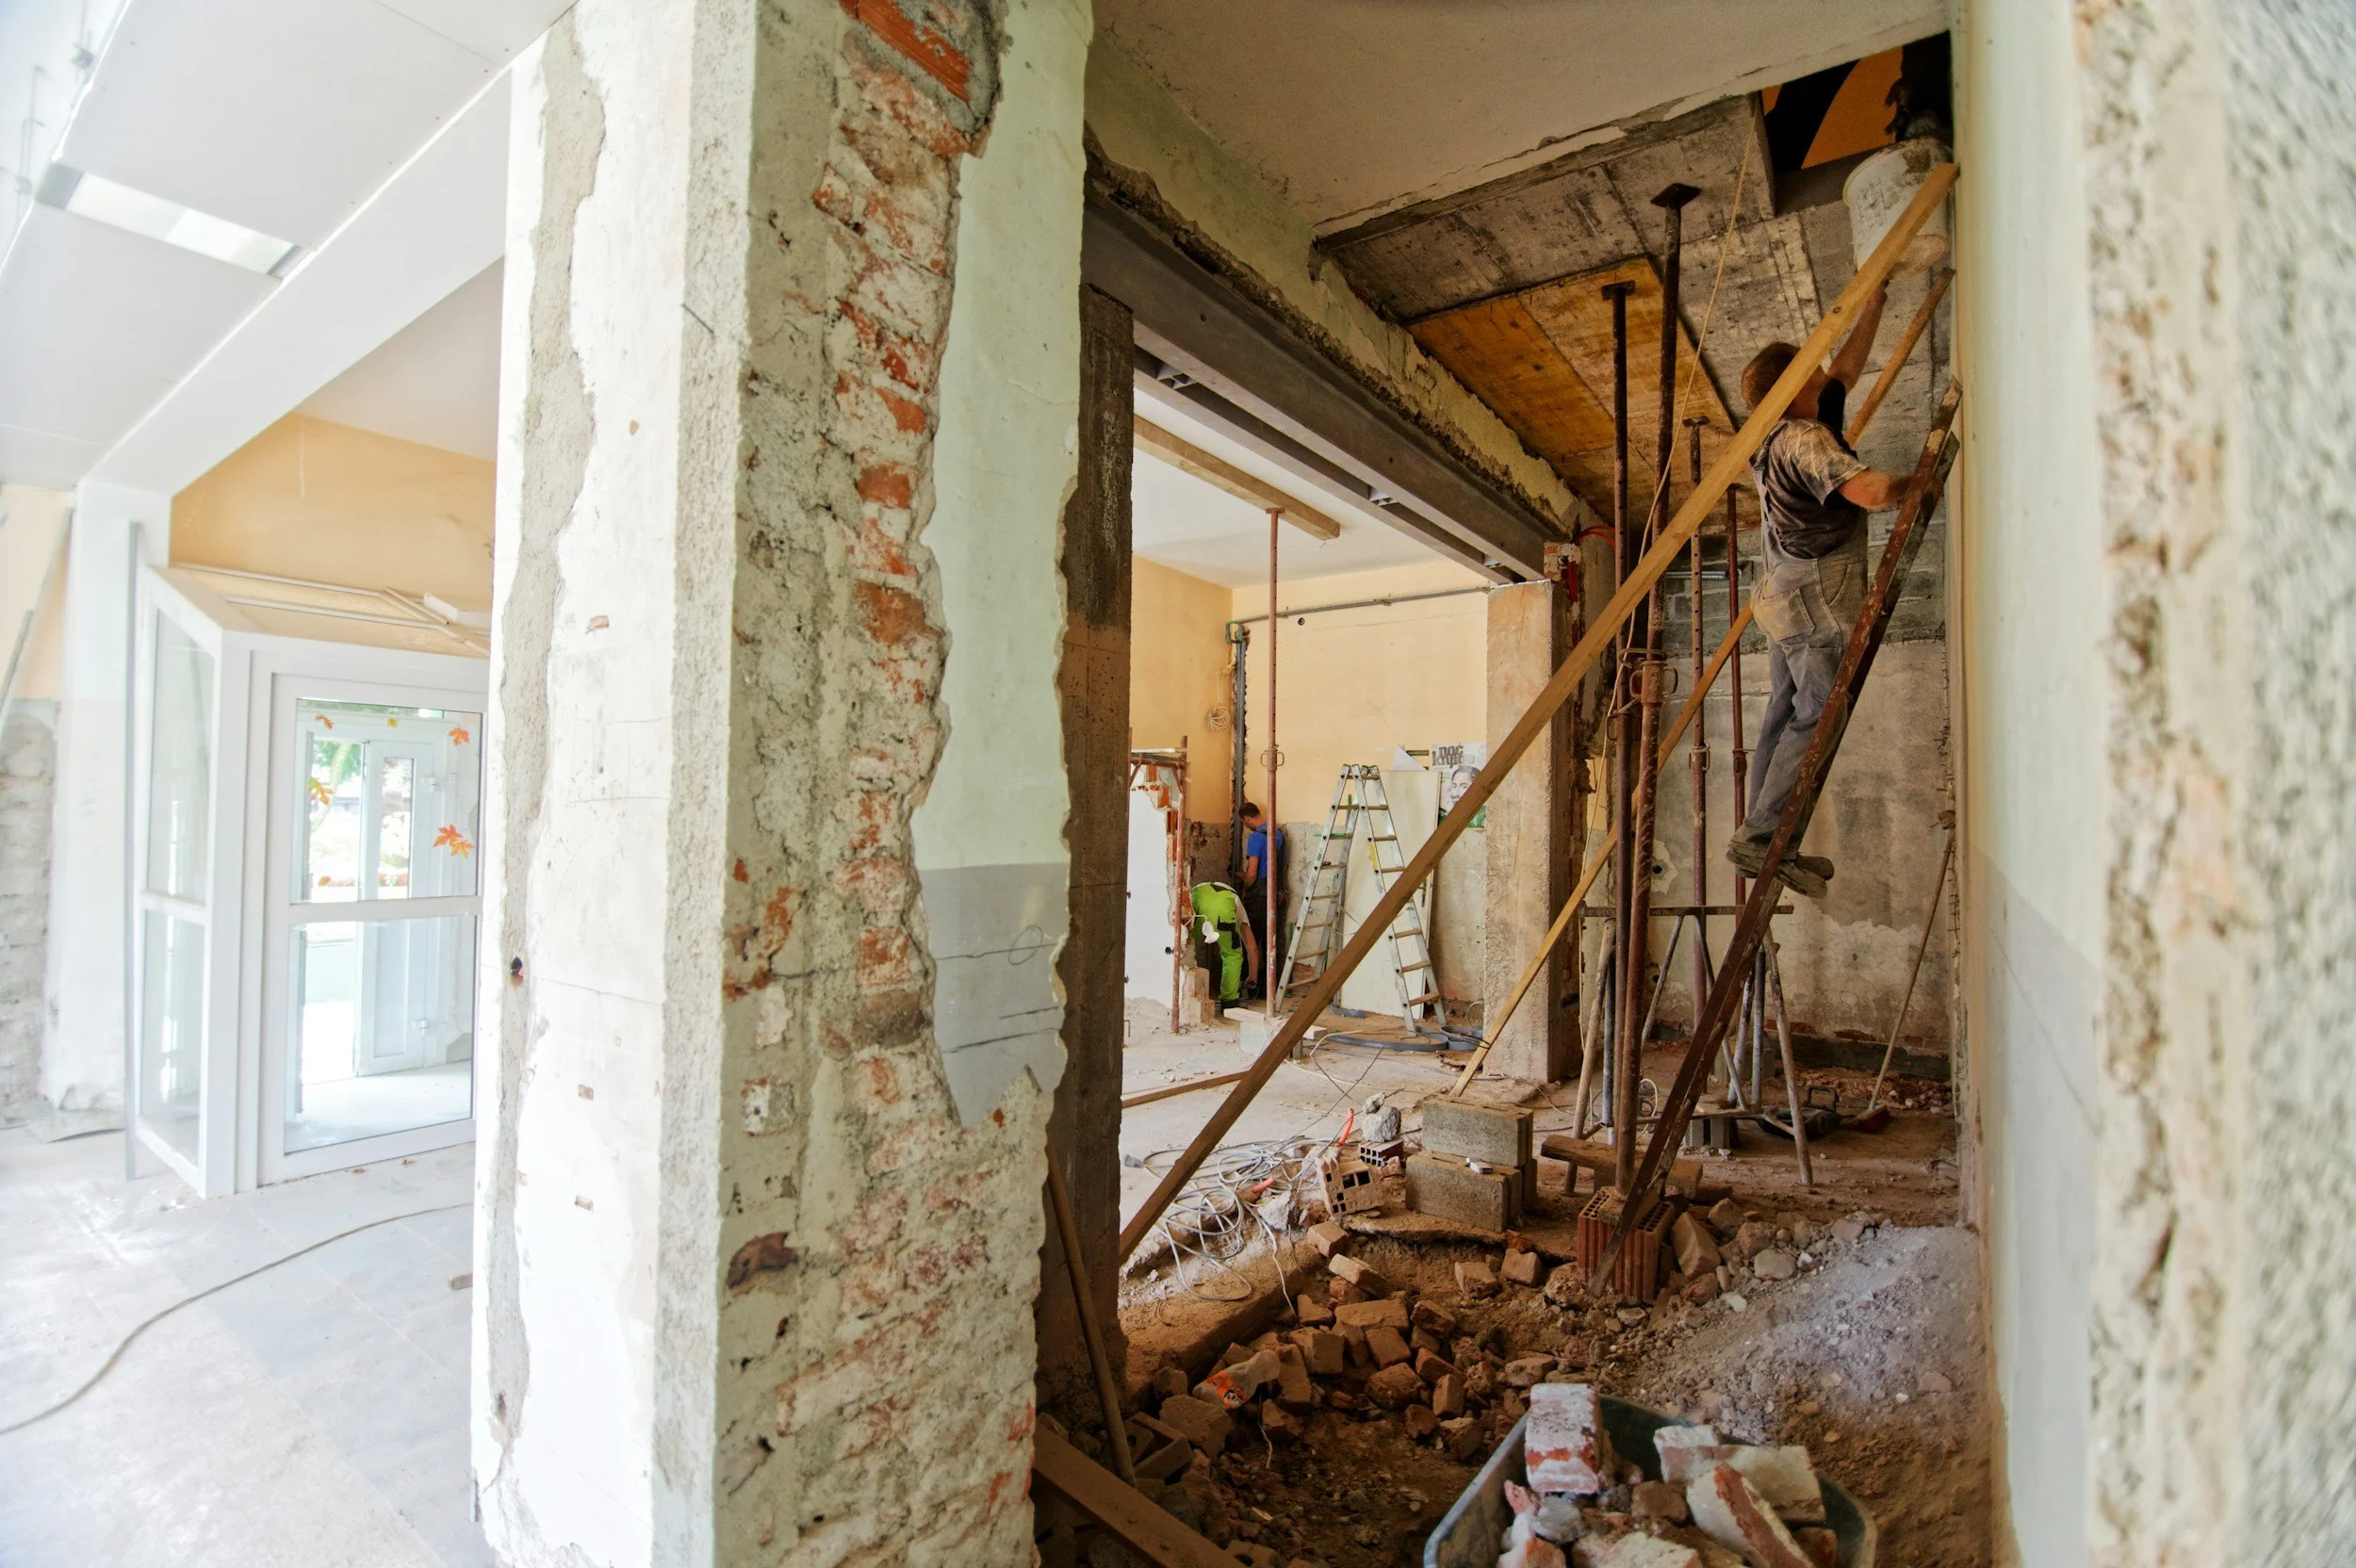
Step 3: Understand Your Home's Construction and Moisture Dynamics
Different building assemblies and materials present unique drying challenges. Modern construction methods sometimes create moisture traps that prevent adequate drying.
High-Risk Assemblies for Trapped Moisture:
LVP (Luxury Vinyl Plank) Over Vapor Barriers: When LVP is installed over polyethylene sheets on concrete slabs, water can't escape through the impermeable layers. This trapped moisture creates ideal mold conditions between the flooring and slab.
Laminate Flooring with Attached Underlayment: The foam backing acts as a sponge while the laminate surface prevents drying from above. Water wicks through seams and becomes trapped.
Insulated Wall Cavities: Vapor barriers (intentionally impermeable to moisture) can trap water inside wall assemblies, requiring opening walls for proper drying.
Material-Specific Drying Characteristics:
Highly Porous (Difficult to Dry):
Drywall/gypsum board
Insulation (cellulose, fiberglass, mineral wool)
Carpet and padding
Particle board and MDF
Less Porous (May Be Salvageable):
Solid wood framing lumber
Plywood sheathing
Oriented strand board (OSB)
Solid hardwood flooring
Concrete (though slow to dry)
Understanding your home's construction helps you and your remediation company make informed decisions about material removal versus drying in place.
Source: Building Science Corporation
Learn more here.
Step 4: Document Everything From Minute One

Thorough documentation protects your insurance claim and provides evidence of your mitigation efforts. Insurance companies can deny claims if they believe you failed to act promptly or didn't adequately document damage.
Document Immediately:
Date and time of water discovery
Source of water (if known) and category
All affected areas - don't forget closets, cabinets, adjacent rooms
Actions taken to stop water source
Initial photos and videos with visible timestamps
Weather conditions (if relevant to the claim)
Continue Documenting:
All communication with contractors (get everything in writing)
Receipts for emergency repairs, equipment rental, temporary housing
Daily progress photos during remediation
Moisture readings throughout the process
Lists of damaged/discarded belongings with replacement values
Pro tip: Create a dedicated folder (physical and digital) for all water damage documentation. You'll reference this repeatedly during the claims process.
💡 Resource: Our free Emergency Checklist includes a documentation template you can use immediately to ensure you capture everything insurance companies need to see.
Source: Insurance Information Institute (III)
Learn more here.
Step 5: Require Professional Moisture Readings and Photographic Evidence

Your water remediation company should treat documentation as seriously as the physical work. Proper assessment forms the foundation of effective restoration.
Required Documentation:
Initial Assessment:
Comprehensive moisture mapping of affected and adjacent areas
Baseline moisture readings before any work begins
Photographs of all damage from multiple angles
Thermal imaging (if available) to detect hidden moisture
Written scope of work detailing all recommended actions
Ongoing Monitoring:
Daily moisture readings in key locations
Documentation of equipment placement and settings
Progress photos showing material removal and drying
Any discovered issues (hidden damage, mold, etc.)
Final Verification:
Moisture readings confirming successful drying
Photos showing completion
Clearance documentation if mold remediation occurred
Acceptable Moisture Content Targets:
According to IICRC S500 standards and EPA guidance:
Wood framing: <19% moisture content (MC) [I prefer no more than 16%]
Drywall: <1% MC using penetrating pin meters, or comparable readings with non-invasive meters
Concrete slabs: Typically <75% relative humidity when tested per ASTM F2170
Plywood/OSB: <16% MC
Important: Moisture meter readings vary by meter type (pin vs. pinless) and material. Your remediation contractor should understand these differences and use appropriate testing methods.
Source: IICRC S500 Standard and Reference Guide for Professional Water Damage Restoration
Learn more here.
Step 5: Require Professional Moisture Readings and Photographic Evidence
Your water remediation company should treat documentation as seriously as the physical work. Proper assessment forms the foundation of effective restoration.
Required Documentation:
Initial Assessment:
Comprehensive moisture mapping of affected and adjacent areas
Baseline moisture readings before any work begins
Photographs of all damage from multiple angles
Thermal imaging (if available) to detect hidden moisture
Written scope of work detailing all recommended actions
Ongoing Monitoring:
Daily moisture readings in key locations
Documentation of equipment placement and settings
Progress photos showing material removal and drying
Any discovered issues (hidden damage, mold, etc.)
Final Verification:
Moisture readings confirming successful drying
Photos showing completion
Clearance documentation if mold remediation occurred
Acceptable Moisture Content Targets:

According to IICRC S500 standards and EPA guidance:
Wood framing: <16% moisture content (MC) [I prefer no more than 16%]
Drywall: <1% MC using penetrating pin meters, or comparable readings with non-invasive meters
Concrete slabs: Typically <75% relative humidity when tested per ASTM F2170
Plywood/OSB: <16% MC
Important: Moisture meter readings vary by meter type (pin vs. pinless) and material. Your remediation contractor should understand these differences and use appropriate testing methods.
Source: IICRC S500 Standard and Reference Guide for Professional Water Damage Restoration
Learn more here.
Step 6: Immediate Removal vs. Attempting to Dry In Place
This decision point significantly impacts restoration costs, timeline, and success. Making the wrong choice can lead to hidden mold growth and failed remediation.
Factors Influencing the Decision:
Water Category: Black water contamination requires immediate material removal - no exceptions.
Time Elapsed: The 24-48 hour window is critical. Materials exposed to water for extended periods before mitigation begins have higher failure rates.
Material Type: Porous, organic materials with high moisture sensitivity cannot typically be dried successfully.
Extent of Saturation: Materials thoroughly soaked throughout their thickness rarely dry adequately.
Materials That Typically Require Removal:
According to EPA guidance on mold remediation:
Drywall that has wicked water more than 12-24 inches above the floor
Any insulation when saturated (cellulose, fiberglass, mineral wool, spray foam)
Carpet padding (nearly impossible to dry and prone to contamination)
Particle board, MDF, or pressboard (disintegrates when wet)
Materials exposed to Category 2 or 3 water (contamination risk)
Ceiling tiles (porous and lose structural integrity)
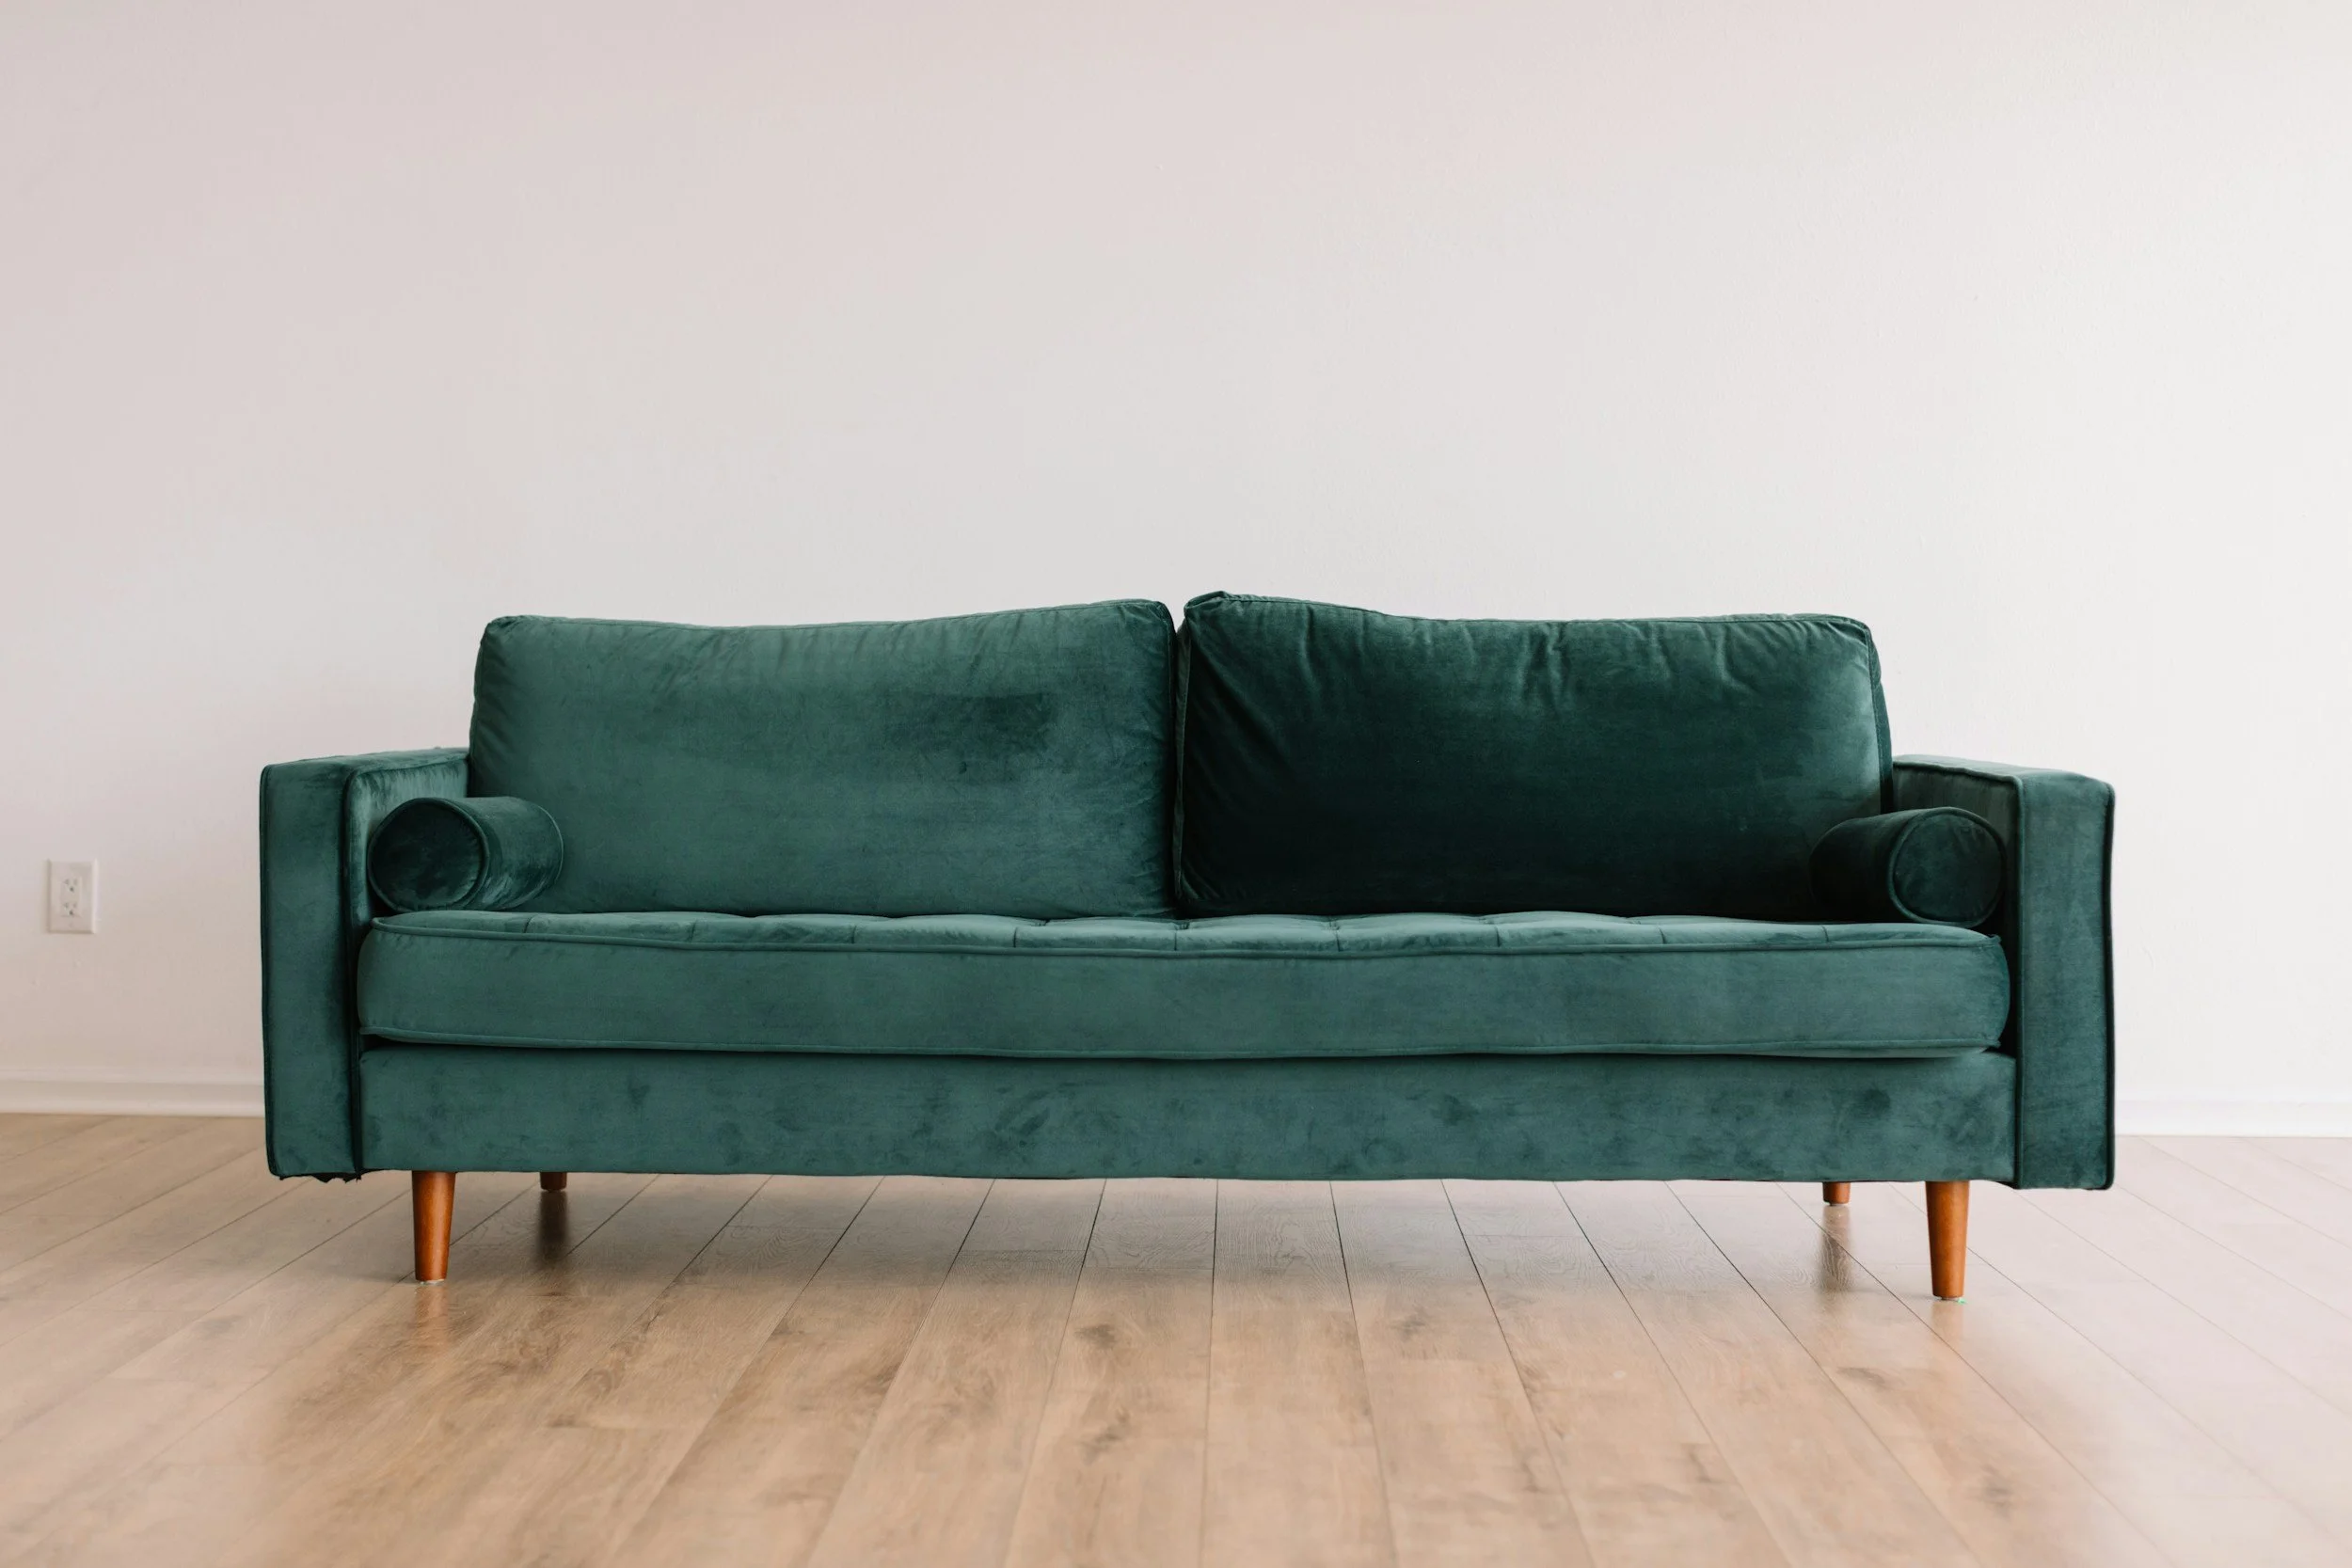
Upholstered furniture saturated by Category 2 or 3 water
Materials That May Be Salvageable (If Addressed Within 48 Hours):
Solid wood framing lumber (2x4s, 2x6s, etc.)
Plywood sheathing and subflooring
Some engineered wood products if swelling is minimal
Ceramic tile (though substrate must be assessed)
Solid hardwood flooring with minor cupping
Concrete and masonry (slow to dry but durable)
Metal (but check for rust and corrosion)
Critical consideration: Building Science Corporation notes that materials exposed to moisture for extended periods can support mold growth even after drying if spores have already colonized the surface. When in doubt, remove questionable materials.
💡 Decision Support: Making the wrong decision here costs thousands. Our Homeowner's Survival Kit includes material-specific decision trees and salvageability guides to help you make informed choices about what can be dried versus what must be removed.
Source: EPA Mold Remediation in Schools and Commercial Buildings
Learn more here.
Step 7: Deploy Industrial Dehumidification and Air Movement
FProfessional-grade drying equipment isn't optional—it's essential. Standard household fans and dehumidifiers simply cannot process the volume of moisture or create the airflow needed for structural drying.
Required Equipment:
Refrigerant or Desiccant Dehumidifiers:
Sized appropriately for the affected area
Capable of removing 100+ pints per day for severe damage
Equipped with continuous drainage
Monitored and adjusted based on moisture readings
High-Velocity Air Movers:
Axial or centrifugal fans creating directional airflow
Positioned strategically to maximize evaporation
Multiple units for larger affected areas
Not generic box fans - purpose-built for restoration
HEPA Air Scrubbers (When Appropriate):
If mold is suspected or confirmed
For Category 2 or 3 water events
To improve indoor air quality during drying
Critical Equipment Hygiene Concern:
Demand clean equipment. Some restoration companies move equipment directly from job to job without proper cleaning, potentially cross-contaminating your home with mold spores, bacteria, or allergens from previous projects.
Questions to ask your remediation company:
What is your equipment cleaning protocol between jobs?
When were the HEPA filters last changed?
Can you provide documentation of equipment maintenance?
Do you sanitize equipment housing and air movers between uses?
The IICRC S500 Standard states that "Restoration equipment should be properly cleaned and maintained to prevent contamination of the work area."
Source: IICRC S500 Standard
Learn more here.
Step 8: Remove Materials Until You Reach Consistently Dry Areas
Incomplete removal is one of the most common causes of failed water remediation and subsequent mold problems.
Understanding Mold Growth Requirements:
The EPA explains that mold requires just three conditions:
Moisture (relative humidity above 60% or wet materials)
Organic food source (wood, paper, drywall, dust, fabric)
Oxygen (always present in occupied spaces)
Timeline: Mold growth can begin within 24-48 hours of water exposure. Visible colonies may establish within 72 hours under ideal conditions.
Proper Removal Protocol:
Don't Trust Visual Inspection Alone: Use moisture meters to verify dryness. Water wicks through materials in ways that aren't always visible.
Cut Above Visible Water Lines: For drywall, the standard is to cut 12-24 inches above the highest visible water staining. Water wicks upward through capillary action.
Remove All Wet Insulation: Insulation cannot be adequately dried and provides ideal conditions for microbial growth. Removal should extend to verifiably dry areas.
Test Adjacent Areas: Water travels through wall cavities, under flooring, and through building assemblies. Test areas surrounding visible damage.
Material-Specific Guidance:
Drywall: The paper facing is cellulose (plant material) - perfect mold food. Once saturated, the gypsum core stays damp and the paper facing often cannot be adequately dried before mold colonization begins. Industry best practice: remove and replace saturated drywall.
Insulation: All types (fiberglass batts, blown cellulose, mineral wool) retain moisture, compress when wet (reducing R-value), and cannot be effectively cleaned if contaminated. The IICRC recommends removal of all affected insulation.
Wood Framing: Solid dimensional lumber (2x4s, 2x6s) has lower moisture sensitivity. If dried quickly with moisture content reduced below 19%, and there's no visible mold growth, framing typically can remain.
Plywood and OSB: Time-sensitive. These engineered products swell when exposed to moisture. If addressed within 24-48 hours and aggressively dried, some plywood may be salvageable. OSB is more moisture-sensitive and often requires replacement.
Source: EPA Mold Remediation Guidelines
Learn more
Source: IICRC S520 Standard for Professional Mold Remediation
Learn more
Step 9: Understand Your Insurance Coverage Before You Need It
The Insurance Information Institute reports that water damage and freezing account for nearly 30% of homeowners insurance claims, making it the second most common claim type after wind and hail damage.
Review Your Policy for:
Covered Water Events:
Sudden and accidental discharge: Burst pipes, appliance failures, accidental overflows (typically covered)
Gradual leaks or seepage: Long-term leaks, maintenance-related issues (typically NOT covered)
Storm/rainwater: May be covered, but coverage varies
Flooding from external sources: Requires separate flood insurance through NFIP or private insurers
Sewer backup: Often requires additional coverage endorsement
Important Exclusions:
Earth movement (groundwater intrusion)
Poor maintenance or "expected" damage
Consequential damage from uncorrected leaks
Coverage Limits:
Dwelling coverage limits
Personal property limits
Additional living expenses if home is uninhabitable
Service line coverage for pipes outside your home
Deductibles:
Standard deductibles vs. hurricane/named storm deductibles
How deductibles apply to water damage specifically
Understanding "Named Perils" vs. "All Risk" Policies:
Named perils policies only cover specifically listed causes of loss. Open perils (all risk) policies cover everything except specifically excluded perils. Know which type you have.
Source: Insurance Information Institute (III)
Learn more here.
Source: National Flood Insurance Program (NFIP)
Learn more here.
Step 10: Report Claims Promptly and Document Mitigation Efforts

If you determine this is a covered loss, timing and documentation are critical to claim success.
The Duty to Mitigate:
Every homeowners insurance policy includes language requiring policyholders to take "reasonable steps" to prevent further damage after a covered loss. This means:
Stopping the water source if safely possible
Removing standing water
Moving belongings out of affected areas
Beginning drying processes
Protecting the property from additional damage
Critical: Your duty to mitigate does NOT mean you must pay for expensive repairs before filing a claim. It means taking reasonable emergency measures to prevent the damage from worsening.
Claim Reporting Best Practices:
Report Immediately: "Prompt" notification is required. Some policies specify timeframes (24-48 hours). Don't wait to "see how bad it gets" - water damage worsens exponentially with time.
Document Your Mitigation Efforts:
Photos showing water source shutoff
Receipts for emergency services
Documentation of protective measures taken
Lists of emergency purchases (fans, dehumidifiers, pumps)
Timeline of your response actions
Understand Emergency Repairs vs. Permanent Repairs: You can typically make emergency repairs to stop further damage (shutting off water, tarping roof leaks, boarding windows). Permanent structural repairs should wait for adjuster inspection unless they're necessary to prevent imminent additional damage.
Working With Adjusters:
Provide complete documentation packages
Be present during adjuster inspections if possible
Don't dispose of damaged materials until authorized (adjuster needs to see them)
Get repair estimates from licensed contractors
Understand depreciation vs. replacement cost value in your policy
Policy Variations:
Every insurance company and policy differs. Some insurers:
Require use of preferred vendors
Have strict notification timelines
Offer claim-free discounts that might influence your decision to claim
Have different thresholds for depreciation
Bottom line: Read your specific policy or call your agent immediately when water damage occurs. The guidance here is general - your policy governs your specific situation.
💡 Insurance Navigation: If you're filing a claim, our Survival Kit includes step-by-step insurance documentation templates, communication scripts, and negotiation guidance that have helped homeowners secure thousands more in claim approvals.
Source: Insurance Information Institute (III)
Learn more here.
Additional Critical Steps for Water Emergency Response
Immediate Safety Actions:
Electrical Safety:
Shut off electricity to affected areas if you can safely access your electrical panel
NEVER enter standing water if electrical outlets, appliances, or panels may be submerged
Call an electrician to verify safety before restoration begins
Personal Protective Equipment: For Category 2 or 3 water exposure:
Rubber gloves and boots
Eye protection
N95 respirator minimum (N99 or P100 for mold)
Disposable coveralls for sewage exposure
Structural Concerns:
Watch for sagging ceilings or bulging walls (water weight)
Listen for unusual sounds (continued leaking, structural stress)
Evacuate if you suspect structural compromise
Don't attempt to remove heavy water-logged materials alone
Source: Electrical Safety Foundation International (ESFI)
Learn more here.
Source: CDC Personal Protective Equipment Guidelines
Learn more here.
Preventing Secondary Damage:
Move furniture, electronics, and valuables to dry areas
Remove area rugs and wet fabrics that can be safely moved
Lift curtains and drapes off wet floors
Open cabinets and closets to improve airflow
Remove wet contents from closets to prevent mold transfer
Don't:
Use standard household vacuum cleaners on standing water (electrical hazard)
Use your home's HVAC system to dry the structure (can spread contamination)
Turn on ceiling fans if ceilings are wet (electrical hazard and water damage to fans)
Indoor Air Quality Considerations:
Ventilation:
If outdoor conditions allow (low humidity, moderate temperature), open windows
Create cross-ventilation to exchange indoor air
Close windows if outdoor humidity is high (prevents additional moisture entry)
Air Quality Monitoring:
Watch for musty odors indicating hidden moisture or mold
Consider air sampling if mold is suspected
Use HEPA air scrubbers during remediation
Vulnerable Populations: If your household includes infants, elderly individuals, or anyone with respiratory conditions, compromised immune systems, or mold allergies, consider temporary relocation during active remediation, especially for Category 2 or 3 water events.
Source: EPA Indoor Air Quality Guidelines
Learn more here.
When to Get Professional Assessments:

Contact professionals immediately for:
Any Category 2 or 3 water exposure
Water present for more than 48 hours before discovery
Visible or suspected mold growth
Musty odors that persist after initial drying
Large affected areas (>10 square feet)
Structural material damage
Uncertainty about extent or severity
HVAC system contamination
Valuable or sentimental items affected
Mold Testing Considerations:
““If you can see or smell mold, testing is generally unnecessary.” The presence of mold indicates a moisture problem that needs correction regardless of the species.”
However, testing may be appropriate when:
Mold-sensitive individuals are experiencing symptoms
Hidden mold is suspected but can't be visually confirmed
Post-remediation verification is needed
Insurance or litigation requires documentation
Identifying the species might inform health decisions
Source: EPA Mold Testing Information
Learn more here.
Frequently Asked Questions About Water Damage Response
How quickly does mold grow after water damage?
Mold can begin growing within 24-48 hours of water exposure if conditions are favorable (adequate moisture, organic material, and oxygen). Visible colonies often establish within 72 hours. Rapid response is critical.
Can I stay in my home during water damage restoration?
This depends on the extent of damage, water category, and presence of contamination. Category 1 water in limited areas may allow occupancy with some inconvenience. Category 3 water, extensive damage, or mold growth may require temporary relocation for health and safety.
How long does water damage restoration take?
Minor incidents may resolve in 3-5 days. Significant damage requiring material removal and reconstruction can take weeks to months. Factors include water category, extent of damage, materials affected, and drying conditions.
Will my insurance rates increase if I file a water damage claim?
This varies by insurer and your claims history. Some companies offer claim-free discounts that could be affected. Multiple claims within a short period are more likely to impact premiums than a single incident. Discuss concerns with your agent.
Should I file an insurance claim for small water damage?
Consider your deductible, claim-free discounts, and potential repair costs. If repairs cost only slightly more than your deductible, paying out-of-pocket might make sense. For significant damage, claims are typically warranted despite potential rate implications.
Can hardwood floors be saved after water damage?
Sometimes, if addressed within 24-48 hours. Solid hardwood has better salvage potential than engineered products. Minor cupping may resolve during drying. Severe warping, buckling, or Category 2/3 water exposure typically requires replacement.
What's the difference between water mitigation and restoration?
Mitigation refers to emergency response actions to stop damage progression (water extraction, initial drying, material removal). Restoration means rebuilding and returning the property to pre-loss condition (reconstruction, painting, flooring installation).
Do I need to replace drywall if it gets wet?
It depends on extent, duration, water category, and wicking height. Drywall with more than 12-24 inches of water wicking, prolonged exposure, or Category 2/3 water contact typically requires replacement. Minor exposure to clean water caught quickly may be salvageable.
Trusted Resources for Water Damage and Mold Information
Professional Standards and Certification:
Institute of Inspection, Cleaning and Restoration Certification (IICRC) The international certifying body for water damage restoration professionals. The IICRC S500 Standard and Reference Guide for Professional Water Damage Restoration is the industry benchmark.
Restoration Industry Association (RIA) Trade organization providing education, standards, and resources for restoration professionals.
Government and Scientific Resources:
EPA: Mold Cleanup in Your Home Comprehensive guidance on mold remediation, moisture control, and health considerations from the Environmental Protection Agency.
CDC: Basic Facts About Mold and Dampness Health information and exposure guidance from the Centers for Disease Control and Prevention.
Building Science Corporation Leading building science research organization with extensive resources on moisture management, building assemblies, and indoor air quality.
Insurance Resources:
Insurance Information Institute (III) Consumer education about insurance coverage, claims processes, and disaster preparedness.
National Association of Insurance Commissioners (NAIC) State insurance regulator organization with consumer resources and complaint processes.
FEMA: National Flood Insurance Program Information about flood insurance requirements, coverage, and purchasing options.
Indoor Air Quality:
American Industrial Hygiene Association (AIHA) Professional organization providing guidance on indoor environmental quality assessment.
National Air Duct Cleaners Association (NADCA) Resources on HVAC system assessment and cleaning after water events.
The Bottom Line: Speed and Knowledge Are Your Best Protection
Water damage is one of the most common and potentially costly disasters homeowners face. The difference between minor repairs and catastrophic loss often comes down to response time and decision quality in those critical first hours.
Your action plan:
✅ Download the free Emergency Response Checklist now - Have it ready before disaster strikes
✅ Don't panic - Work through steps systematically when water appears
✅ Identify water category - Determines safety protocols
✅ Call certified professionals immediately - Mold doesn't wait
✅ Document everything - Protects your insurance claim
✅ Verify the work - Trust but verify with moisture readings
✅ Understand your coverage - Before you need it
Your home represents your largest financial investment and your family's health environment. Treat water emergencies with the urgency they deserve, but approach them armed with knowledge and a clear plan.
Ready to go deeper?
The free checklist covers your first 24 hours. But what about:
Verifying contractor work is actually done right?
Understanding moisture readings so you can't be fooled?
Navigating insurance claims for maximum payout?
Preventing the $8,000+ mistakes most homeowners make?
The Homeowner's Water Damage Survival Kit includes everything you need - prevention strategies, contractor vetting systems (23-point checklist), insurance claim navigation, moisture reading interpretation guides, material decision trees, verification protocols, mold prevention guidance, and special situation modules for basements, crawlspaces, and condos. $67 for complete protection.
What you get:
✅ 9 comprehensive modules covering prevention through reconstruction
✅ Checklists, worksheets, and decision trees for every scenario
✅ Contractor vetting system to avoid predatory companies
✅ Insurance claim templates and negotiation scripts
✅ Material salvageability guides by type
✅ "Is it really dry?" verification protocols
✅ Mold prevention and remediation guidance
✅ Bonus resources and lifetime updates
Need independent assessment help?
At Conscious Healthy Home, we provide objective guidance for homeowners facing water damage, mold concerns, and remediation decisions. Our building science approach ensures you get evidence-based recommendations—not fear-based sales pitches.
📧 Contact us for a consultation | 📥 Download free checklist | 📚 Get complete survival kit
Have you dealt with water damage in your home? What lessons did you learn? Share your experience in the comments to help other homeowners prepare.
This guide was last updated February 2026 and reflects current industry standards from the IICRC, EPA, and building science best practices. The author, Cristina of Conscious Healthy Home, is a licensed attorney, building science and healthy home consultant. She is a Certified Passive House Builder and Building Biology Advocate specializing in helping homeowners navigate complex building science challenges.
About the Author

Cristina, JD, CPHB
Founder, Conscious Healthy Home, LLC
Cristina brings a unique perspective combining 14 years as a corporate attorney advising Fortune 500 companies with specialized training as a Certified Passive House Builder and Building Biology Advocate. After her family's toxic mold exposure transformed her mission in life, she founded Conscious Healthy Home to help others avoid environmental health disasters through proper site selection, healthy building practices, and evidence-based guidance.
Cristina also serves as Vice President of Malachi's Message Foundation, a nonprofit supporting families affected by toxic mold exposure.
Credentials:
Licensed Attorney (14 years corporate law experience)
Advisor, Air Advisory, International WELL Building Institute
Creator, CHH Realtor Certification Program
Questions about site selection or healthy home building? Contact us directly (cristina@conscioushealthyhome.com)
📖 Related Articles You Might Find Helpful:
What We're Leaving Behind: Toxic Healthy Home Trends of 2025
Building Biology EMF Guidelines: Safe Exposure Levels for Your Home
Last Updated: February 2026